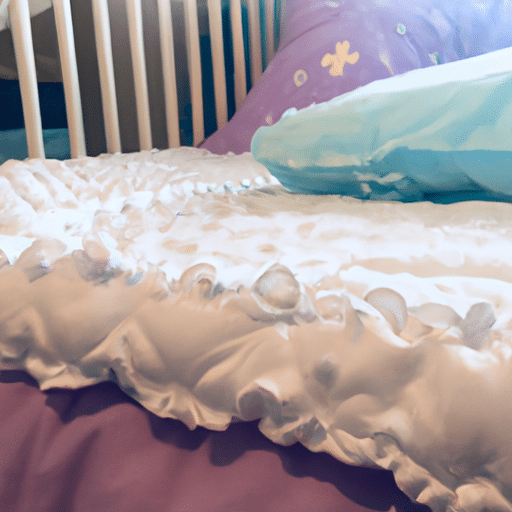
As parents, ensuring the safety and cleanliness of our little ones’ spaces is of utmost importance. When it comes to cribs, the question of how to effectively clean and sanitize them between children can pose a dilemma. Fear not, for in this article, we will provide you with practical tips and techniques to effortlessly clean and sanitize your crib, ensuring a healthy and hygienic environment for your new bundle of joy. From removing stains to disinfecting surfaces, we’ve got you covered. So, let’s dive into the world of crib cleaning and sanitizing!
Review contents
Preparation
Before we begin the process of cleaning and sanitizing a crib between children, it’s important to gather all the necessary materials. Make sure you have a vacuum cleaner, mild detergent, disinfectant spray, bleach solution, and clean bedding ready to go. Having everything at hand will make the process smooth and efficient.
Additionally, it’s crucial to clear the area around the crib. Remove any toys, blankets, or other items that may obstruct the cleaning process. This will ensure that you have a clear space to work and prevent any items from getting in the way or getting contaminated during the cleaning process.
Disassembling the Crib
The first step in the cleaning process is to disassemble the crib. Start by removing the bedding and mattress. These can be cleaned separately according to their specific requirements, which we will discuss in more detail later. Once the bedding and mattress have been removed, you can proceed to take apart the crib.
Follow the manufacturer’s instructions to disassemble the crib safely. The process may involve removing screws or bolts, so it’s essential to keep track of all the pieces to ensure a secure reassembly later on. Taking the crib apart will make it easier to access all the nooks and crannies for a thorough cleaning.
Cleaning the Crib Frame
Now that the crib is disassembled, it’s time to focus on cleaning the crib frame. Start by vacuuming the entire frame to remove any dust, dirt, or crumbs that may have accumulated. Pay extra attention to the corners and edges where dirt can often accumulate.
After vacuuming, wipe down the crib frame with a mild detergent solution. Be sure to use a clean cloth or sponge, and ensure that the detergent is safe for use on the crib’s material. Wipe down all the surfaces, including the slats, sides, and bottom of the crib frame. This will help remove any remaining dirt or stains and ensure a thorough clean.
Cleaning the Mattress
With the crib frame cleaned, it’s time to move on to the mattress. Start by removing any stains or spills on the mattress. Use a mild detergent solution and a clean cloth to gently blot the affected areas. Be careful not to saturate the mattress, as excessive moisture can lead to mold or mildew growth.
Once any stains or spills have been addressed, vacuum the entire mattress to remove any dust or allergens. Use a clean upholstery attachment or a handheld vacuum for this task. Pay attention to both sides of the mattress, as well as the edges and corners.
If necessary, spot clean any remaining stains or spills with a mild detergent solution, following the manufacturer’s instructions. Again, take care not to oversaturate the mattress. Once the mattress has been thoroughly cleaned, set it aside to dry completely before putting it back in the crib.
Cleaning the Bedding
Bedding is an essential part of the crib that requires regular cleaning. Begin by machine washing the bedding in hot water. This will help to eliminate any dust mites, bacteria, or other allergens that may be present. Use a mild detergent and follow the manufacturer’s instructions for best results.
After washing, dry the bedding on high heat. High heat helps to kill any remaining bacteria or allergens and ensures that the bedding is thoroughly dry. Ensure that the bedding is completely dry before putting it back on the crib to prevent mold or mildew growth.
Once dry, you can choose to iron the bedding or fold it neatly. This step helps to eliminate wrinkles and ensures that the bedding looks neat and fresh. Ironing is particularly beneficial if the bedding has decorative elements that need to be preserved.
Sanitizing the Crib
Now it’s time to sanitize the crib to eliminate any lingering germs or bacteria. Start by using a disinfectant spray on all the hard surfaces of the crib frame. Be sure to choose a disinfectant that is safe to use around babies and follow the manufacturer’s instructions for proper application.
After applying the disinfectant spray, lightly wipe down all the surfaces of the crib frame with a bleach solution. The bleach solution should be made by diluting household bleach with water, following the manufacturer’s instructions for the correct concentration. This final step helps to ensure that the crib is thoroughly sanitized and ready for the next child.
Reassembling the Crib
Once all the cleaning and sanitizing steps are complete, it’s time to reassemble the crib. Before you start, ensure that all surfaces of the crib are thoroughly dry. Moisture can lead to mold or mildew growth, so it’s essential to double-check before proceeding.
Follow the manufacturer’s instructions to accurately reassemble the crib. Take care to ensure that all the screws, bolts, or other pieces are tightened securely. Reassembling the crib correctly is crucial to ensure its stability and safety for the next child.
Finally, put the clean bedding and mattress back into the crib. Make sure the mattress fits securely, with no gaps or spaces that could pose a safety hazard. Smooth out the bedding, ensuring that it is snugly fitted and looks inviting for the next little one.
Safety Precautions
When cleaning and sanitizing a crib, it’s essential to prioritize safety. Here are a few precautions to keep in mind:
- Avoid using harsh chemicals that may be harmful to babies. Stick to mild detergents and disinfectants approved for use around infants.
- Always keep cleaning products out of reach of children. Babies are curious and can be easily attracted to brightly colored bottles. Store cleaning products in a secure cabinet or out of their reach.
- Test any cleaning agents on a small, inconspicuous area before use. This will help ensure that there are no adverse reactions or damage to the crib’s material.
Regular Maintenance
Regular maintenance is key to keeping a crib clean and safe for your child. Here are some maintenance tips to follow:
- Clean spills and stains immediately to prevent them from setting in and becoming harder to remove later on.
- Inspect the crib regularly for any signs of damage, such as loose screws or cracked wood. Repair or replace any damaged parts promptly to ensure the crib’s sturdiness.
- If any parts of the crib become worn out or damaged, such as teething rails or mattress supports, replace them as soon as possible to maintain the crib’s safety and functionality.
Additional Considerations
While cleaning and sanitizing a crib between children is important, there are a few additional considerations to keep in mind:
- Always follow the manufacturer’s instructions for cleaning and maintenance. Each crib may have specific care requirements, so it’s essential to refer to the provided guidelines.
- Consult with pediatricians or other healthcare professionals if you have specific concerns regarding cleaning products or methods. They can provide valuable advice and guidance based on your child’s individual needs.
- If you prefer, consider utilizing professional cleaning services. Some parents may opt to have their cribs professionally cleaned to ensure a thorough and efficient process. This option can be particularly useful if time constraints or other factors make it difficult to clean the crib independently.
By following these comprehensive steps, you can ensure that your child’s crib is clean, sanitized, and safe for their use. Regular cleaning and maintenance will provide a healthy and comfortable environment for your little one to sleep and grow.
