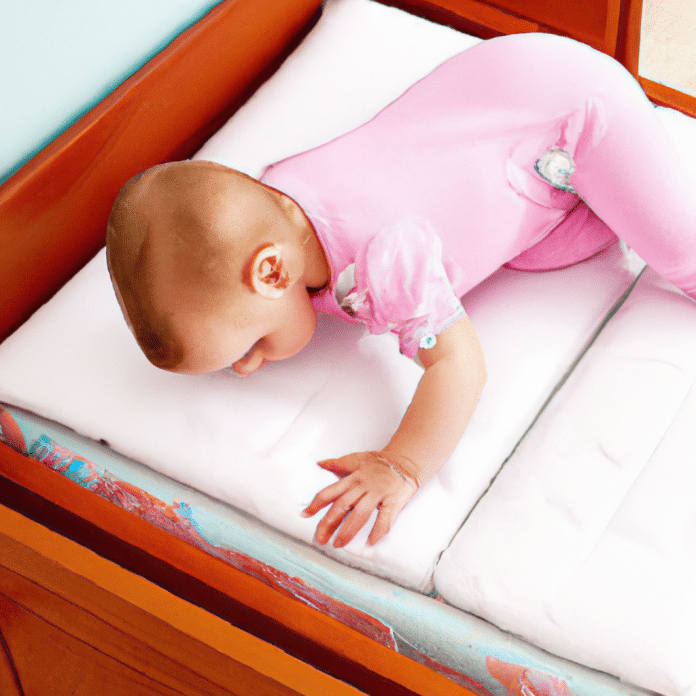
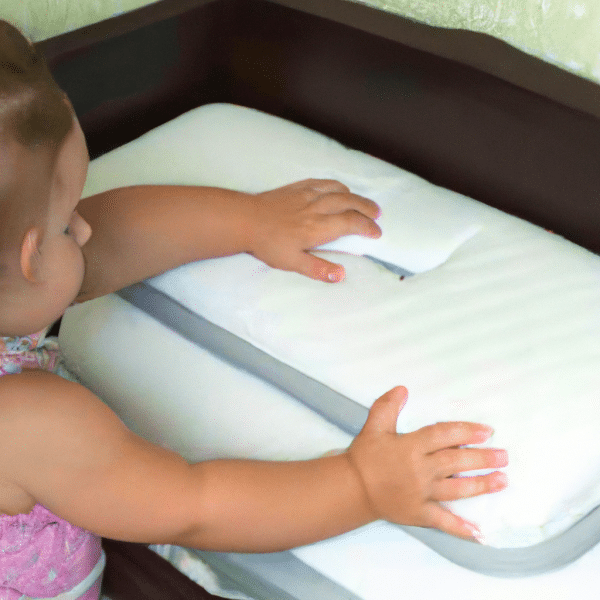
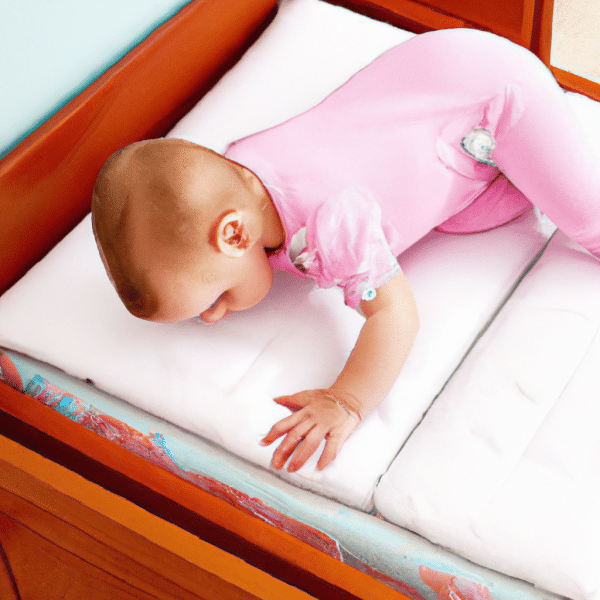
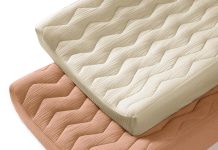
Let’s talk about the age-old struggle of keeping a changing pad securely in place on various surfaces, like a dresser. We’ve all been there – just as you’re about to change your little one, the changing pad starts sliding and shifting around, causing unnecessary stress and potential accidents. Fear not, as we’ve got you covered with some handy tips and tricks to ensure your changing pad stays put, providing a safe and stable platform for those oh-so-important diaper changes. From non-slip mats to adhesive strips, we’ll explore different methods to make your changing pad stay exactly where you want it, leaving you free to focus on your adorable bundle of joy.
Review contents
Choosing the Right Changing Pad
When it comes to changing your baby’s diapers, having a comfortable and secure changing pad is essential. But with so many options available, how do you choose the right one? There are a few factors to consider when selecting a changing pad that will provide both comfort and safety for you and your little one.
Consider the Size and Shape of the Changing Pad
The first thing to consider is the size and shape of the changing pad. You want to make sure it fits well on your chosen surface, whether it’s a dresser or a changing table. Measure the dimensions of the surface and look for a changing pad that is slightly smaller to allow for a secure fit. Additionally, consider the shape of the changing pad. Some pads are contoured to provide extra support for your baby’s head and body.
Look for Non-Slip Surface
A non-slip surface is crucial to ensure the changing pad stays in place while you change your baby’s diapers. Look for a pad with a non-slip bottom or a grippy texture that will grip onto the surface. This will give you peace of mind and prevent any accidents or injuries. A changing pad with a non-slip surface will provide stability and keep your baby secure during diaper changes.
Check for Safety Features
Safety should always be a top priority when it comes to your baby. Look for a changing pad that has safety features such as raised sides or safety straps. Raised sides will help prevent your baby from rolling off the pad, while safety straps will secure your little one in place during diaper changes. These features will give you added peace of mind and ensure the safety of your baby.
Choose a Waterproof Material
Babies are notorious for accidents, especially during diaper changes. Choosing a changing pad with a waterproof material is essential to protect the pad from any spills or leaks. Look for a pad with a wipeable and waterproof surface that is easy to clean. This will make your life much easier and ensure that the changing pad stays hygienic for your baby’s comfort.
Preparing the Dresser
Now that you’ve chosen the perfect changing pad, it’s time to prepare the dresser surface to ensure a secure and stable changing station. Here are some steps to follow:
Measure the Dimensions of the Dresser
Before you start preparing the dresser, measure the dimensions of the top surface. This will help you determine the size of the changing pad that will fit comfortably. Take accurate measurements to ensure a proper fit.
Clean and Clear the Dresser Surface
Next, clean and clear the dresser surface. Remove any items or clutter that may get in the way during diaper changes. Wipe down the surface with a mild cleaning solution to ensure it’s clean and sanitary for your baby.
Consider Using a Changing Pad Cover
To add an extra layer of comfort and protection, consider using a changing pad cover. These covers are usually made of soft and washable materials that provide a cozy surface for your baby. They also help protect the changing pad from any messes. Choose a cover that fits snugly over the changing pad and is easy to remove and wash.
Securing the Changing Pad with Straps
Once the dresser surface is prepared, it’s time to secure the changing pad in place. Safety straps are an excellent way to keep the changing pad secure and prevent any accidental slipping or sliding. Here’s how you can do it:
Adjust and Attach the Safety Straps to the Changing Pad
Most changing pads come with attached safety straps. Adjust the straps to the appropriate length and attach them securely to the pad using the provided buckles or clips. Ensure that the straps are tight enough to hold the pad in place but not overly tight to cause discomfort for your baby.
Position the Changing Pad on the Dresser
Carefully position the changing pad on the prepared dresser surface. Make sure it is centered and aligns with the edges of the dresser. Double-check that the safety straps are easily accessible and not obstructed by the dresser.
Secure the Straps to the Dresser
Once the changing pad is positioned correctly, secure the straps to the dresser. Depending on the design of the dresser, you may need to loop the straps around the dresser or attach them to anchor points. Ensure that the straps are tight and hold the changing pad securely in place. Give the pad a gentle test to make sure it doesn’t move or slide.
Using Non-Slip Mats or Grip Pads
An alternative method for securing a changing pad is to use non-slip mats or grip pads. These provide an additional layer of stability and prevent any accidental movement. Here’s how you can use them:
Choose a Non-Slip Mat or Grip Pad
Look for a non-slip mat or grip pad that is specifically designed for use with changing pads. These mats are usually made of rubber or silicone and have a grippy texture that helps keep the pad in place. Ensure the mat or pad is large enough to cover the surface area of the changing pad.
Place the Mat or Pad on the Dresser
Clean and dry the dresser surface, then place the non-slip mat or grip pad on top. Ensure it is centered and aligned with the edges of the dresser. Smooth out any wrinkles or air bubbles to ensure a flat and secure surface for the changing pad.
Position the Changing Pad on Top
Once the non-slip mat or grip pad is in place, carefully position the changing pad on top. Make sure it aligns with the edges of the dresser and sits securely on the mat or pad. The grippy texture of the mat or pad will help prevent any sliding or movement during diaper changes.
Ensure the Non-Slip Mat or Grip Pad is Secure
Double-check that the non-slip mat or grip pad is securely attached to the dresser and doesn’t shift or move when pressure is applied. If needed, you can use adhesive or tape to further secure the edges of the mat or pad to the dresser surface. This will ensure that the changing pad remains stable throughout diaper changes.
Utilizing Adhesive Velcro Strips
Another option for securing a changing pad on a dresser is to use adhesive Velcro strips. Velcro provides a strong and adjustable attachment, allowing for easy removal and repositioning of the changing pad. Here’s how you can use adhesive Velcro strips to secure the pad:
Select Adhesive Velcro Strips
Choose adhesive Velcro strips that are strong and durable. Opt for Velcro that has a strong adhesive backing and is designed to secure heavy objects. Ensure that you have enough Velcro strips to cover the desired areas of attachment.
Attach One Side of the Velcro to the Dresser
Clean and dry the dresser surface where you plan to attach the changing pad. Peel off the backing of one side of the Velcro strip and firmly press it onto the dresser surface. Make sure the Velcro strip is centered and aligned with the edges of the pad.
Apply the Opposite Side of the Velcro to the Changing Pad
Peel off the backing of the opposite side of the Velcro strip and attach it to the corresponding area on the changing pad. Press the Velcro firmly to ensure a secure attachment. Ensure that the Velcro strips are placed symmetrically and evenly on both sides of the changing pad for balanced support.
Press the Velcro Strips Together
Once both sides of the Velcro strips are attached, press them firmly together to secure the changing pad in place. The Velcro will provide a strong grip and prevent any sliding or movement during diaper changes. Test the attachment by gently pulling on the changing pad to ensure it stays secure.
Exploring Suction Cups or Clamps
For those who prefer a removable and adjustable method of securing a changing pad, using suction cups or clamps can be a viable option. These attachments allow for easy removal and repositioning of the changing pad. Here’s how you can secure a changing pad using suction cups or clamps:
Obtain Suction Cups or Clamps
Look for suction cups or clamps that are suitable for use with changing pads. Suction cups with a strong grip and clamps with adjustable widths are ideal for this purpose. Make sure you have enough suction cups or clamps to provide secure attachment points.
Attach the Suction Cups or Clamps to the Changing Pad
Clean and dry the surface of the changing pad where you plan to attach the suction cups or clamps. Press each suction cup firmly onto the pad, ensuring a tight seal. For clamps, adjust the width to fit the thickness of the changing pad and secure them in place.
Place the Changing Pad on the Dresser
Clean and clear the dresser surface, ensuring it is dry and free of any debris. Carefully position the changing pad on the dresser, aligning it with the edges. Ensure that the suction cups or clamps are easily accessible and not obstructed by the dresser.
Secure the Suction Cups or Clamps
Once the changing pad is in position, press down on each suction cup to create a strong seal. For clamps, tighten them securely around the edge of the pad. Test the attachment by gently applying pressure to the changing pad to ensure that it stays in place.
Considering Adhesive Dual-Lock
Adhesive dual-lock strips, also known as hook and loop fasteners, provide a secure and adjustable method of attaching a changing pad to a dresser. Here’s how you can use adhesive dual-lock strips:
Purchase Adhesive Dual-Lock Strips
Obtain adhesive dual-lock strips that are strong and durable. Look for options with a high weight capacity and strong adhesive backing to ensure a secure attachment. You will need enough strips to cover the desired areas of attachment.
Cut the Strips to the Desired Length
Measure and cut the adhesive dual-lock strips to the desired length. Consider the dimensions of the changing pad and dresser surface when determining the appropriate length for each strip. Ensure that you have an equal number of hook and loop strips for a balanced attachment.
Apply the Strips to the Changing Pad and Dresser
Clean and dry the surfaces where you plan to attach the adhesive dual-lock strips. Peel off the backing of one side of the strip and attach it firmly to the changing pad. Repeat this step for the corresponding area on the dresser surface, using the opposite side of the strip.
Press the Strips Together for a Secure Connection
Once both sides of the adhesive dual-lock strips are attached, press them firmly together to create a secure connection. The hook and loop fasteners will provide a strong hold and prevent any movement or sliding of the changing pad. Test the attachment by gently pulling on the pad to ensure it stays securely in place.
Using Anti-Slip Shelf Liners
Anti-slip shelf liners are an affordable and effective way to provide a non-slip surface for securing a changing pad. Here’s how you can use anti-slip shelf liners:
Acquire Anti-Slip Shelf Liners
Purchase anti-slip shelf liners that are designed to provide grip and stability. Look for liners that have a textured surface and are made of durable and washable materials. Measure the dimensions of the dresser surface and ensure that the liner is large enough to cover it.
Cut the Liner to Fit the Dresser Surface
Measure and cut the anti-slip shelf liner to the dimensions of the dresser surface. Ensure that it fits snugly and covers the entire area where the changing pad will be placed. Trim any excess liner if necessary.
Place the Liner on the Dresser
Clean and dry the dresser surface, then place the anti-slip shelf liner on top. Smooth out any wrinkles or air bubbles to ensure a flat and secure surface. The textured surface of the liner will provide grip and prevent any sliding or movement of the changing pad.
Position the Changing Pad on Top of the Liner
Once the anti-slip shelf liner is in place, carefully position the changing pad on top. Make sure it aligns with the edges of the dresser and sits securely on the liner. The textured surface of the liner will enhance stability and prevent any accidental slipping.
Considering Alternative Changing Tables
While securing a changing pad on a dresser is a common and practical solution, there are alternative options to consider. Some standalone changing tables come with built-in safety features and straps to secure the changing pad. Portable changing tables offer convenience and versatility, while wall-mounted changing tables save space. Here are some things to consider when exploring alternative changing tables:
Explore Standalone Changing Tables
Standalone changing tables are specially designed for diaper changes and often come with built-in safety features. Look for a table that has a sturdy construction, raised sides, and safety straps or buckles to secure the changing pad. Consider the height of the table and make sure it is comfortable for you to use.
Look for Attached Straps and Safety Features
When considering a standalone changing table, ensure that it comes with attached straps or safety features. These will keep your baby secure during diaper changes and provide peace of mind. Check that the straps are easy to adjust and fasten, and that they hold the changing pad firmly in place.
Consider Portable Changing Tables
Portable changing tables offer convenience and flexibility, especially for families on the go or those with limited space. These tables are lightweight, foldable, and easy to transport. Look for a portable changing table that has a sturdy frame and a secure attachment mechanism for the changing pad.
Evaluate Wall-Mounted Changing Tables
If space is a concern in your nursery or bathroom, consider a wall-mounted changing table. These tables fold up against the wall when not in use, saving valuable floor space. Look for a wall-mounted table that comes with secure attachment points for the changing pad. Ensure that the table is properly installed and can support the weight of your baby.
Maintenance and Safety Tips
Once you have successfully secured the changing pad, it’s important to maintain its stability and ensure the safety of your baby. Here are some maintenance and safety tips to keep in mind:
Regularly Check and Tighten Fastenings
Periodically check the fastenings used to secure the changing pad and ensure they are tight and secure. Over time, straps, Velcro, or adhesive may loosen, compromising the stability of the pad. Regularly inspect and tighten the fastenings as necessary to maintain a secure attachment.
Clean the Changing Pad Regularly
Cleaning the changing pad regularly is important for hygiene and comfort. Wipe down the pad with a mild cleaning solution or disinfectant wipes after each use. Pay special attention to any soiled areas and ensure the pad is thoroughly dry before using it again.
Never Leave Your Baby Unattended
Regardless of how securely you have attached the changing pad, it is crucial never to leave your baby unattended during diaper changes. Babies can be unpredictable, and accidents can happen in a matter of seconds. Always keep one hand on your baby and use the safety straps provided to prevent any falls or injuries.
Ensure Proper Padding and Comfort
Lastly, ensure that the changing pad provides adequate padding and comfort for your baby. Check that the pad is not sagging or worn out, as this can affect your baby’s comfort. Consider using additional cushioning or a soft cover to enhance the comfort of the pad for your little one.
Choosing the right changing pad and securing it properly on a dresser or other surface is essential for a safe and comfortable diaper-changing experience. By considering the size and shape of the pad, looking for non-slip surfaces, checking for safety features, and choosing waterproof materials, you can ensure a secure and hygienic changing station. Whether you opt for safety straps, non-slip mats, adhesive Velcro strips, suction cups or clamps, adhesive dual-lock, or anti-slip shelf liners, there are various methods available to keep the changing pad in place. Additionally, exploring alternative changing tables offers additional options to suit your specific needs. Remember to regularly check and maintain the fastenings, clean the changing pad, never leave your baby unattended, and prioritize their comfort throughout the diaper-changing process. With these tips in mind, you can create a safe and comfortable changing station for you and your little one.

